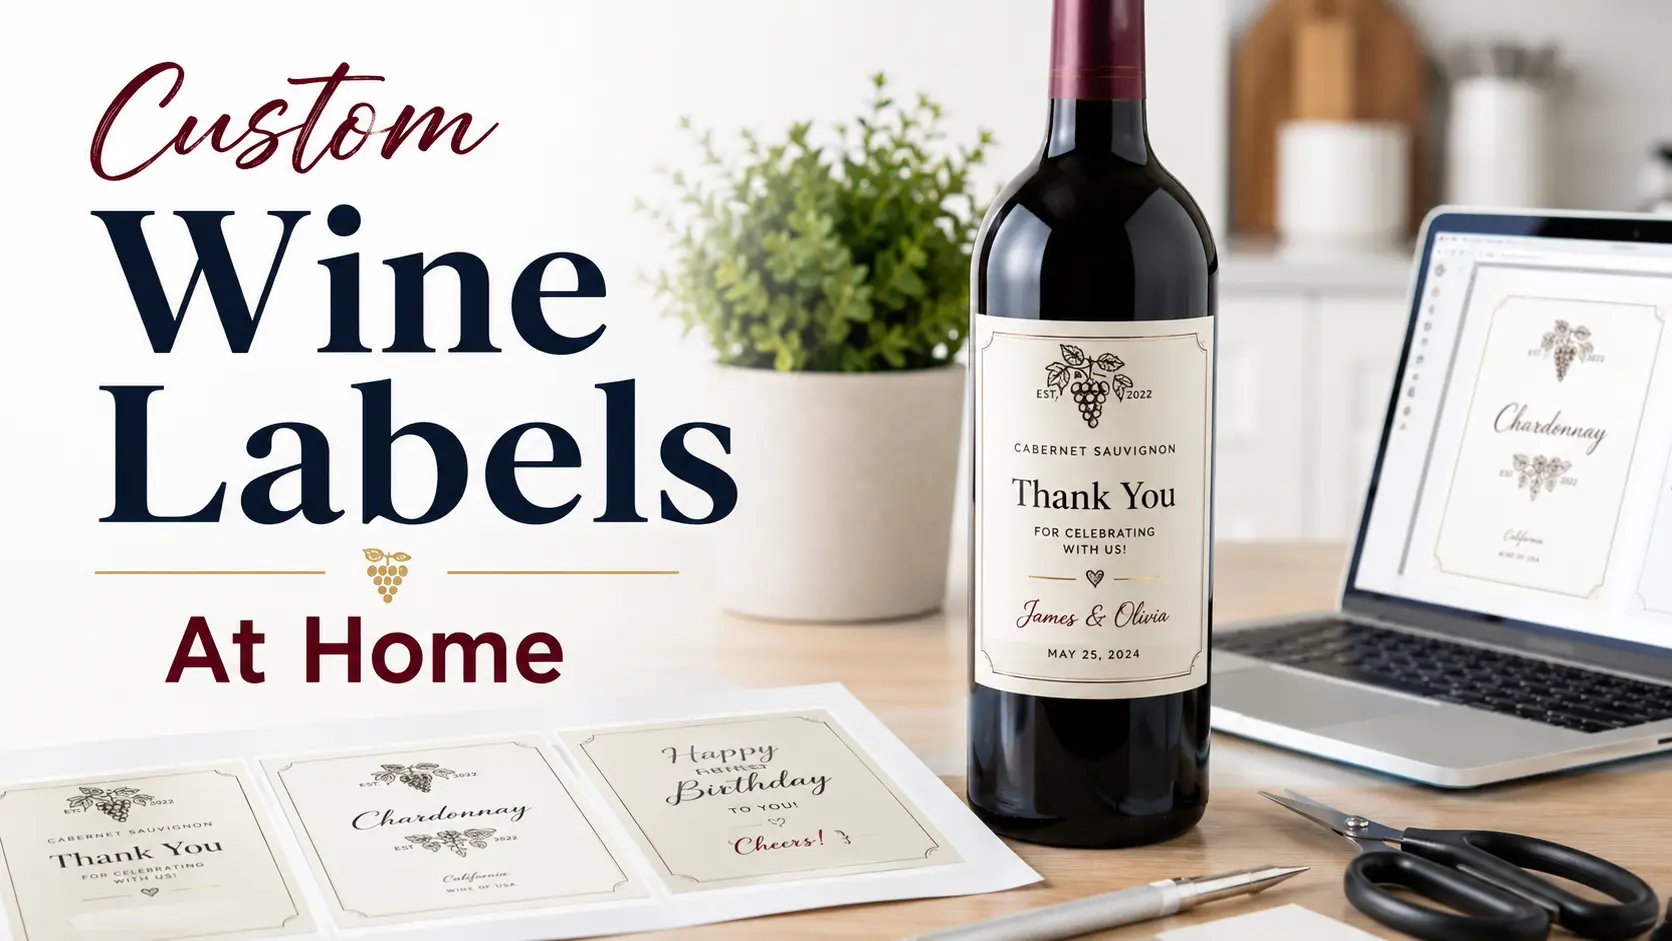
TLDR
- The fastest way to make polished custom wine labels at home is to start with the bottle size, then choose the label material.
- Use waterproof or water-resistant label stock for bottles that will be chilled, handled, or placed in an ice bucket.
- Keep the front label simple: wine name, variety, year, and one strong visual style.
- For larger batches or more durable results, consider professional custom labels from CustomStickers.com.
Intent Sentence
This post helps home winemakers, gift-givers, and small event planners make custom wine labels at home by explaining design, material, printing, and application choices, so they can label bottles that look clean and intentional.
A bottle can look “homemade” in a good way or a bad way. The difference is usually not the wine. It is the label.
Custom wine labels at home can look sharp if you treat them like a real packaging project, not a last-minute craft printout. That means choosing the right adhesive paper, measuring the bottle, using a clean wine label template, and printing on material that can survive cold glass and damp hands.
The fun part is the design. The unglamorous part is the material. Both matter. A beautiful label printed on the wrong stock can wrinkle, smear, or peel before the first glass is poured. And a waterproof label with cramped text still looks like it lost a fight with Microsoft Word.
Start With The Bottle, Not The Template
The easiest mistake is opening Canva, choosing a pretty wine label template, and designing before you know the bottle’s label area. That can work, but it often leads to labels that are too tall, too wide, or placed over the bottle’s shoulder.
Measure the smooth cylindrical area of the bottle first. Most labels apply best below the shoulder, where the glass is straight. Tapered glass is harder because the label has to bend in two directions, which can create wrinkles.
A common front wine label size is around 3.5 inches wide by 4 inches tall, but that is only a starting point. Smaller bottles, champagne-style bottles, Burgundy bottles, and tall narrow bottles can all need different proportions. Canva notes 3.5 x 4 inches as a common wine label size, while Avery recommends measuring the bottle and testing a paper mockup before committing to a full print run.
Print one test label on plain paper first. Cut it out, tape it to the bottle, and look at it from a few feet away. This catches most sizing problems before you waste good label stock.
Choose The Right Material For Custom Wine Labels At Home
The material choice decides how professional the finished bottle feels.
For bottles that will sit on a counter, a nice matte paper label can work. For bottles that will go in the fridge, an ice bucket, a cooler, or a damp party table, use waterproof or water-resistant labels. Regular printer paper and basic office labels can absorb moisture, curl at the edges, and let ink bleed.
Here is the practical version:
| Label Material | Best For | Tradeoff |
|---|---|---|
| Matte Paper | Dry gifts, rustic labels, short-term event bottles | Can wrinkle or stain when wet |
| Glossy Paper | Bright colors and party labels | Fingerprints and glare show more |
| Waterproof Film Or Vinyl | White wine, rosé, sparkling wine, fridge storage | Usually less textured than paper |
| BOPP Labels | Product-style labels, small batches, food and beverage packaging | Better ordered professionally |
| Textured Or Linen Paper | Estate-style labels and elegant gifts | Usually not the best ice-bucket choice |
| Clear Labels | Minimal designs and clean glass | Bubbles and bottle imperfections show more |
Avery recommends waterproof labels for bottles that will be chilled or get wet, and WorldLabel notes that weatherproof inkjet label sheets are made for labels that may contact moisture. Some waterproof inkjet stocks may still need careful drying or a topcoat for high-contact use, so check the instructions for your specific label paper.
For larger batches, small brands, wedding favors, winery samples, or anything that needs a cleaner finish than a home printer can provide, CustomStickers.com custom labels are a strong fit. Their custom labels include waterproof laminated BOPP options, matte or gloss finishes, and a proofing process before printing. They also offer roll and sheet label options, which makes more sense when you are labeling more than a handful of bottles.
Pick A Design Style Before You Add Text
Good wine labels usually commit to one style. They do not try to be rustic, modern, funny, elegant, and floral all at once.
Wine Folly breaks custom wine label inspiration into broad design lanes like classic, fun, modern, and old-timey. That is a useful way to start. Pick a lane before choosing fonts or colors.
A few safe directions:
Classic: Serif fonts, cream backgrounds, borders, crests, small ornaments, and traditional spacing.
Modern: Large type, lots of white space, simple shapes, bold contrast, and fewer decorative elements.
Rustic: Kraft paper colors, hand-drawn illustrations, vintage badges, botanical artwork, and softer typography.
Funny Or Event-Based: Inside jokes, party names, wedding dates, family nicknames, and playful art. This works best when the layout is still clean.
The main design rule is simple: make the wine name readable first. Then support it with the rest of the design. Tiny decorative text may look nice on screen, but it can disappear on a curved bottle under warm kitchen lighting.
What To Put On A Custom Wine Label
For personal bottles, you do not need to copy every formal wine label requirement. But you should borrow the structure. It makes the bottle feel more complete.
A clean front label can include:
- Wine Name: “Basement Reserve,” “Smith Family Red,” “Wedding Table No. 6,” or whatever fits the occasion.
- Varietal Or Style: Cabernet Sauvignon, Chardonnay, Red Blend, Apple Wine, Mead, or Table Wine.
- Year Or Occasion: A vintage year, bottling year, wedding date, anniversary date, or holiday.
- Region Or Source: Optional, but useful if it adds context.
- Alcohol Content: Helpful if known, especially for homemade wine.
- Small Design Detail: A crest, illustration, monogram, floral element, or simple border.
The back label can carry the text that would clutter the front. Add a short story, tasting notes, serving suggestion, or food pairing. Keep it brief. Two or three sentences usually feel better than a paragraph block.
For commercial wine, labeling is a different game. The TTB lists mandatory wine label topics such as brand name, class or type designation, alcohol content, health warning statement, name and address, net contents, and sulfite declaration. The TTB also explains that alcohol content formatting has specific rules, and “ABV” is not an allowed abbreviation in that statement. Personal gift labels do not need to become a compliance project, but anything sold or formally distributed should be checked against current requirements.
Use The Right Software For Your Skill Level
You can make custom wine labels at home with simple tools. You do not need to be a designer.
Canva is the easiest starting point for most people. It has wine label templates, drag-and-drop editing, stock elements, font controls, and PDF export. Canva also recommends saving high-quality PDFs for printing.
Adobe Express works well for similar template-based designs. Avery Design & Print is useful when you are printing on Avery label sheets because the template matches the physical sheet layout. Cricut Design Space makes sense if you want custom shapes and already have a cutting machine.
Use Illustrator, Photoshop, or another pro design tool if you care about exact sizing, custom dielines, special typography, or print-ready control. That is not required for a party favor. It is useful for a serious bottle label project.
For artwork quality, aim for high-resolution images. CustomStickers project files recommend 300 PPI at full size for best results, and note that high-resolution PNG, JPG, SVG, AI, EPS, or similar files are easier for a print team to work with.
Print And Apply The Labels Cleanly
Printing is where a lot of nice designs get knocked down a tier.
Use the “best” or “high quality” print setting. Choose the closest media type: labels, heavyweight paper, glossy photo paper, or matte photo paper, depending on your stock. Do not use “fit to page” if your template must print at exact size. OnlineLabels specifically warns that scaling a template can make the printed label smaller than the real label area.
Let ink dry fully before handling. Inkjet prints especially need patience. If the label stock instructions say to wait longer, wait longer.
Before applying the label, clean the bottle. Remove dust, old adhesive, oil, and fingerprints. A small amount of isopropyl alcohol on a cloth works well for glass. Let the bottle dry and return to room temperature before labeling. Cold bottles create condensation, and condensation is not your friend here.
To apply the label:
- Line up the center of the label with the center of the bottle.
- Press the middle down first.
- Smooth outward toward the edges.
- Use a soft cloth or squeegee to push out small bubbles.
- Keep each bottle in the same position if you are making a set.
A simple jig helps. You can use a cardboard box with a V-cut, a folded towel channel, or a label applicator if you are doing a lot of bottles. The goal is not fancy equipment. The goal is repeatable placement.
When To Print At Home Vs Order Professional Labels
Printing custom wine labels at home is best for small, personal projects. Think six bottles for a dinner, a few birthday gifts, a wedding shower, or a home winemaking batch where each bottle might be different.
Professional printing makes more sense when the label needs to survive handling, moisture, shipping, or a larger event. It also helps when color consistency matters. A home printer can shift color from sheet to sheet, especially when ink levels change.
Use home printing when you need:
- A tiny batch
- Same-day labels
- Low cost per experiment
- Lots of one-off designs
- A handmade look
Use professional labels when you need:
- Better water resistance
- Cleaner cutting
- Roll labels for faster application
- Consistent color
- A polished product label feel
- More than a few bottles
CustomStickers.com is especially relevant for this second group because you can upload artwork, choose size and finish, and review a free online proof before the labels are printed. That proofing step matters. It gives you a chance to catch sizing, cut, and layout issues before your whole batch is produced.
Common Mistakes To Avoid
Using regular paper: It may look fine dry, then fail once the bottle is chilled.
Skipping the test print: Always test on plain paper before using label stock.
Designing too small: Fine text and thin lines are harder to read on a bottle than on a screen.
Ignoring the bottle shape: Straight labels do not love curved shoulders.
Overloading the front label: Put the story on the back. Let the front breathe.
Applying labels to cold bottles: Room temperature glass gives the adhesive a much better chance.
Printing too few extras: Print or order at least 10% more than you need. Someone will apply one crooked. It happens.
Conclusion
Custom wine labels at home are very doable. The trick is respecting the physical bottle as much as the design file.
Start by measuring the smooth label area. Choose waterproof or water-resistant stock if the bottle will be chilled. Keep the layout simple, use readable type, and test before printing the full batch. For personal gifts, a home printer and a good template may be enough. For events, small brands, or bottles that need a cleaner product-label finish, ordering professional labels is usually worth it.
The label does not need to be complicated. It just needs to look intentional.